Introduction to Elasticsearch: Create, Update, Delete and Search Documents 🔍

Unlike traditional relational databases that store data in fixed rows and columns, document databases use flexible documents. These documents are typically stored in a JSON-like format, which is both human-readable and machine-friendly. Developers can directly create and update these documents from their code, making application development more rapid and efficient.
Some of the most popular document databases are Amazon DynamoDB, MongoDB, Google Firebase and others. But what really gives Elasticsearch an edge is that it excels as a search engine optimized for fast, complex search queries, especially text searches. It’s commonly used for analyzing log and event data.
Elasticsearch’s true strength lies not in standalone usage, but in its seamless integration with Kibana (for data visualization) and Logstash (for data transformation) to create the famous ELK stack.

Note that the container might take some time to start responding otherwise you will keep getting Empty Response.
Great! Now that our Elasticsearch is up and running let's create our CRUD APIs.
Elasticsearch’s true strength lies not in standalone usage, but in its seamless integration with Kibana (for data visualization) and Logstash (for data transformation) to create the famous ELK stack.
So, let's set up Elasticsearch and start our journey!
Running Elasticsearch ⚙️
We'll just need to create a very simple docker-compose.yml file to start our Elasticsearch container. Which is the easiest way to run Elasticsearch on your local machine.
version: '3.7'services:elasticsearch:image: docker.elastic.co/elasticsearch/elasticsearch:8.13.0environment:- node.name=elasticsearch- cluster.name=es-docker-cluster- discovery.type=single-node- bootstrap.memory_lock=true- "ES_JAVA_OPTS=-Xms512m -Xmx512m"- "xpack.security.enabled=false"ulimits:memlock:soft: -1hard: -1volumes:- esdata1:/usr/share/elasticsearch/dataports:- 9200:9200volumes:esdata1:driver: local
Note that I disabled the security which is something not entirely correct but only for simplicity. Otherwise, you would have to add your credentials each time you try to communicate with the container and if you try to build a Kibana on top of it you will also have to create a service token which is something we will leave out from this simple introduction.
Perfect! Now, let's run this command after you navigate to the directory where your docker-compose.yml file exists.
After the image is pulled and your container starts logging. You should be able to see that your container is running when you run docker ps.
After the image is pulled and your container starts logging. You should be able to see that your container is running when you run docker ps.
You should be able to receive response from the port after you try to curl a GET request.

Note that the container might take some time to start responding otherwise you will keep getting Empty Response.
Great! Now that our Elasticsearch is up and running let's create our CRUD APIs.
CRUD APIs Using NEST 🐣
NEST is a high-level client for Elasticsearch in the .NET ecosystem. It will allow us to manage Elasticsearch using simple easy-to-use functions.
In order to store documents in Elasticsearch we need to define first an index. As of Elasticsearch 6.0 and later, you can only have one type per index. Each field is only mapped once, and the mapping applies to all documents in the index. This means that if you have multiple models, you would typically create a separate index for each model.
In order to store documents in Elasticsearch we need to define first an index. As of Elasticsearch 6.0 and later, you can only have one type per index. Each field is only mapped once, and the mapping applies to all documents in the index. This means that if you have multiple models, you would typically create a separate index for each model.
It's important to define an Id field to be used as an identifier. If your model doesn't have a property named Id or you want to use a different property as the document ID, you can configure this in your mappings when you create the index, or when you index the document. However, this requires more advanced usage of NEST and is typically not necessary for most applications.
Let's create a model that represents an example document model.
Let's create a model that represents an example document model.
public record Document{public int Id { get; set; }public string Name { get; set; } = string.Empty;}
After that let's define our CRUD operations interface.
using Domain.Models;namespace Playground.Contracts{public interface IElasticsearchService{public string CreateDocument(Document doc);public Document GetDocument(int id);public List<Document> SearchDocumentsByName(string name);public void UpdateDocument(Document doc);public void DeleteDocument(int id);}}
Great! Now, we defined simple and generic CRUD operations and one for searching which should allow us to search documents by the field Name we defined above.
The next step should be implementing this interface. But first, I want to explain that I will be declaring the index in the constructor my ElasticsearchService only if I found that it doesn't exist. This is more of a code-first approach however I you want to declare your index first on Kibana or even using Elasticsearch APIs then only CRUD documents in that index then go ahead. However, in this tutorial code-first is going to be my approach.
That being said let's go ahead and implement our service.
using Domain.Models;using Nest;using Playground.Contracts;namespace Playground.Implementations{public class ElasticsearchService : IElasticsearchService{private readonly ElasticClient _client;public ElasticsearchService(){var settings = new ConnectionSettings(new Uri("http://localhost:9200")).DefaultIndex("hardcode_index");_client = new ElasticClient(settings);// Create the index if it doesn't existif (!_client.Indices.Exists("hardcode_index").Exists){var createIndexResponse = _client.Indices.Create("hardcode_index", c => c.Map<Document>(m => m.AutoMap()));if (!createIndexResponse.IsValid){throw new Exception("Error creating index", createIndexResponse.OriginalException);}}}public string CreateDocument(Document doc){var response = _client.IndexDocument(doc);if (!response.IsValid){throw new Exception("Error indexing document", response.OriginalException);}return response.Id;}public Document GetDocument(int id){var response = _client.Get<Document>(id);if (!response.IsValid){throw new Exception("Error getting document", response.OriginalException);}return response.Source;}public List<Document> SearchDocumentsByName(string name){// Search for any document that contains the namevar response = _client.Search<Document>(s => s.Query(q => q.Match(m => m.Field(f => f.Name).Query(name))));if (!response.IsValid){throw new Exception("Error searching documents", response.OriginalException);}return [.. response.Documents];}public void UpdateDocument(Document doc){var response = _client.Update<Document>(doc.Id, u => u.Doc(doc));if (!response.IsValid){throw new Exception("Error updating document", response.OriginalException);}}public void DeleteDocument(int id){var response = _client.Delete<Document>(id);if (!response.IsValid){throw new Exception("Error deleting document", response.OriginalException);}}}}
As you can see, most of the methods are readable and easy to understand and implement which is why NEST is very useful.
Except for searching part. The function is using the NEST library to perform a search operation on an Elasticsearch index. The Search method is used to execute a search query against the index.
Except for searching part. The function is using the NEST library to perform a search operation on an Elasticsearch index. The Search method is used to execute a search query against the index.
Here's a breakdown of what each part of the code does:
• _client.Search<Document>(s => s...: This line is calling the Search method on the Elasticsearch client. The <Document> type parameter indicates that the search results should be deserialized into instances of the Document class.
•. Query(q => q...: This line is defining the query for the search operation. The Query method is used to specify the search criteria.
•.Match(m => m...: This line is using the Match query, which is a type of full-text query in Elasticsearch. The Match query analyzes the text provided and constructs a query from that.
•.Field(f => f.Name)...: This line is specifying the field to search. In this case, it's searching the Name field of the Document class.
• Query(name)...: This line is specifying the text to search for in the Name field. The name variable contains the text to search for.
• var response = ...: This line is storing the response from the Elasticsearch server in the response variable. The response object contains the search results and information about the search operation, such as whether it was successful and how long it took.
Alright! Now that we've prepared our services let's make an application interface to allow us to use the services.
using Domain.Models;using Microsoft.AspNetCore.Mvc;using Playground.Contracts;namespace HARDCODE.API.Controllers{[Route("[controller]")][ApiController]public class ElasticsearchController(IElasticsearchService elasticsearchService) : ControllerBase{[HttpPost]public IActionResult CreateDocument([FromBody] Document document){elasticsearchService.CreateDocument(document);return Ok("Document created successfully!");}[HttpGet("{id}")]public IActionResult GetDocument(int id){var document = elasticsearchService.GetDocument(id);return Ok(document);}[HttpPut]public IActionResult UpdateDocument([FromBody] Document document){elasticsearchService.UpdateDocument(document);return Ok("Document updated successfully!");}[HttpDelete("{id}")]public IActionResult DeleteDocument(int id){elasticsearchService.DeleteDocument(id);return Ok("Document deleted successfully!");}[HttpGet("search/{name}")]public IActionResult SearchDocumentsByName(string name){var documents = elasticsearchService.SearchDocumentsByName(name);return Ok(documents);}}}
That seems to be enough. But of course, let's not forget to register our service in program.cs.
// Add ElasticsearchServicebuilder.Services.AddTransient<IElasticsearchService, ElasticsearchService>();
Perfect! Let's go ahead and test our APIs.
Create Document 🆕
In order to create a new document using our APIs we have to post a new document with an arbitrary Id. There is no auto-incrementing for Ids in Elasticsearch, so you have to manage your own Id sequence. So, I will create my first document named "first doc" and I will give it an Id of 22.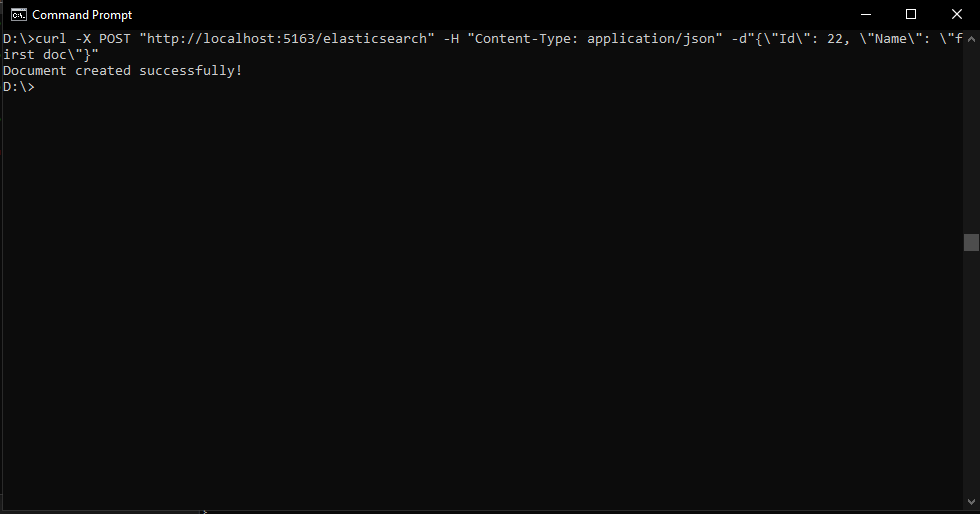
Ok, it seems like our document was created. Let's list all the documents in our index and see if it was really created. To do so you will need to run the following command in your cmd after replacing hardcode_index with the name of your index.
curl -X GET "localhost:9200/hardcode_index/_search?pretty
curl -X GET "localhost:9200/hardcode_index/_search?pretty

Perfect! Seems like our first document was created. Let's try retrieving it using our API.
Retrieve Document ⏎
Let's retrieve our first document using its Id by simply curling a GET request to our controller and adding the Id.

Seems to be working fine now let's try adding a second document to delete it.
Delete Document ❌
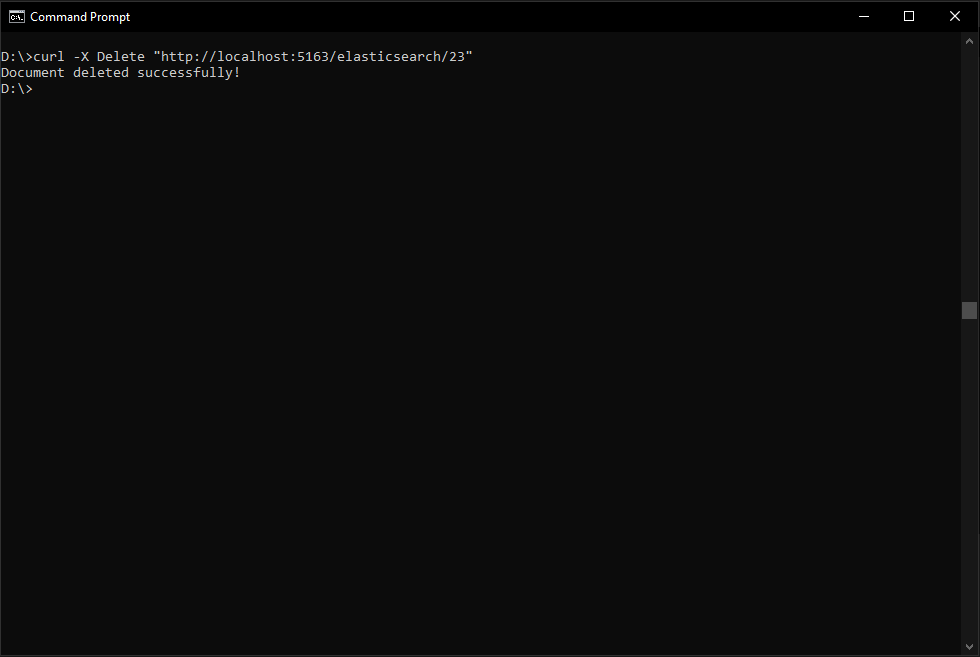
Let's first add a second document with Id 23.

Then list all documents again to make sure it exists.

As you can see the second document exists so let's delete it and then list again.

Update Document 🔧
Update can allow you to change the values of certain fields in the document only. But the way I'm using it is that it replaces the old document with a new one.
Which can be done by the way by using the create document API too. The only difference is that you can use the create API if you don't care if the document exists or not (create-or-update). Because if you use update, then if your document doesn't exist, an exception will be thrown.
So, let's go ahead and update our document then retrieve the updated document using our API.


Search Document 🔍
As I mentioned when implementing the search service, this is a very basic search service and I'm using it only as an example and you really should explore all the possible ways you can query your data in your index.
That being said let's go ahead and search for any document that has the name query we will provide the API.

As you can see our document was fetched because our document's name includes the word "first" in it.
Perfect! I think this has been a sufficient introduction into the world of Elasticsearch and I really recommend that you try different searching techniques to discover the various options you can use to search your documents.
That being said let's go ahead and search for any document that has the name query we will provide the API.

Perfect! I think this has been a sufficient introduction into the world of Elasticsearch and I really recommend that you try different searching techniques to discover the various options you can use to search your documents.
But exploring and managing your index might get a little difficult using APIs and commands. Don't you wish there was some sort of a data visualization tool or a console you can use to simply explore your data?
There actually is one and it's a very powerful tool with countless features called Kibana. And I will show you how to integrate it with your Elasticsearch database in a later post. So, stay tuned!
There actually is one and it's a very powerful tool with countless features called Kibana. And I will show you how to integrate it with your Elasticsearch database in a later post. So, stay tuned!


Comments
Post a Comment